Test your react component using Playwright
Testing is an integral part of the software development process. When it comes to web development, testing React components is crucial to ensure that your application functions as expected. Playwright is a powerful tool that can help you automate browser interactions and effectively test your React components. In this article, we'll explore React component testing using Playwright, providing you with a comprehensive guide to get started.
What is a Playwright?
Playwright is an open-source automation framework that enables developers to test web applications across different browsers, including Chromium, Firefox, and WebKit. Developed by Microsoft, Playwright offers a unified API for automating browser actions, making it an excellent choice for end-to-end testing and browser automation.
Why Use Playwright for React Component Testing?
Playwright is an excellent choice for React component testing for several reasons:
Cross-Browser Testing: Playwright allows you to test your React components in multiple browsers, including Chromium, Firefox, and WebKit. This ensures that your components work consistently across different browsers, which is crucial for delivering a great user experience.
Real User Interactions: Playwright can simulate real user interactions, such as clicking, typing, and navigating. This helps you test your React components in a way that closely resembles how users interact with your application.
Headless and Headful Mode: Playwright supports both headless and headful modes, making it versatile for different testing scenarios. You can run tests headlessly for continuous integration (CI) pipelines or run them in headful mode to visually inspect the test execution.
Accessibility Testing: Playwright includes built-in accessibility testing tools, allowing you to ensure that your React components are accessible to all users, including those with disabilities.
Set Up React App
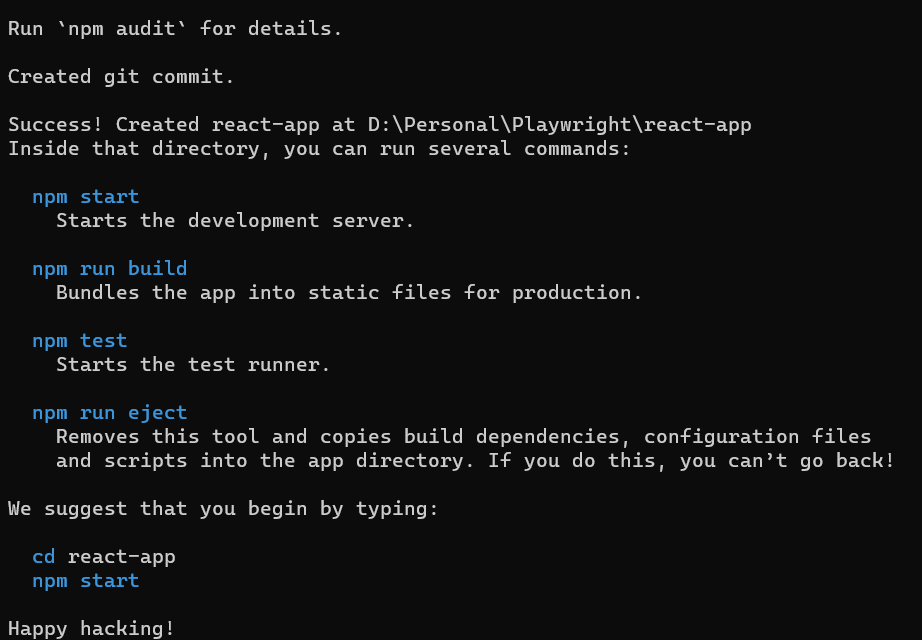
Step 1 - Create a react app using the given command.
npx create-react-app react-app
After running the above command output looks like
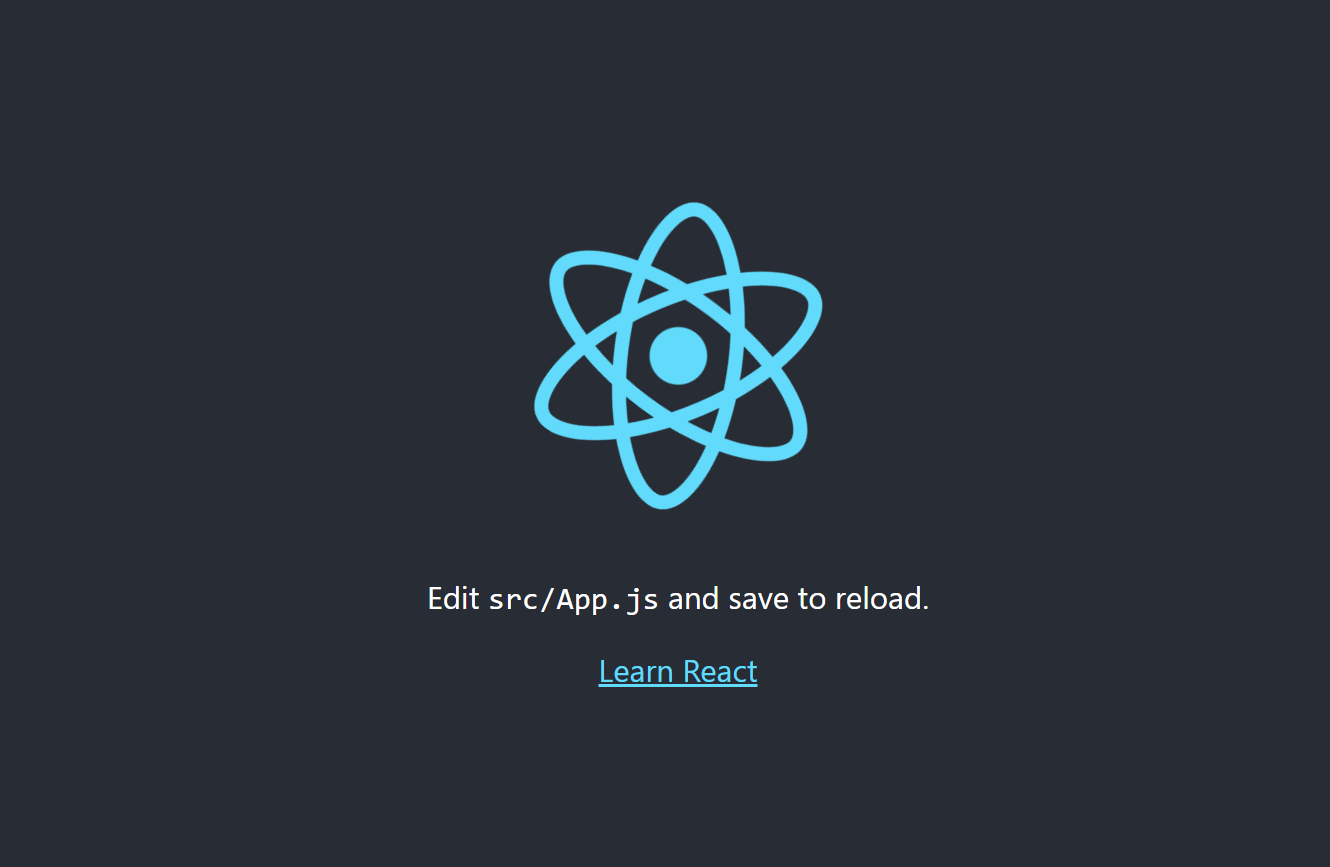
Step 2 - Go to the root directory and launch the React app.
cd react-app
npm start
After running the npm start command your react app will be started on http://localhost:3000
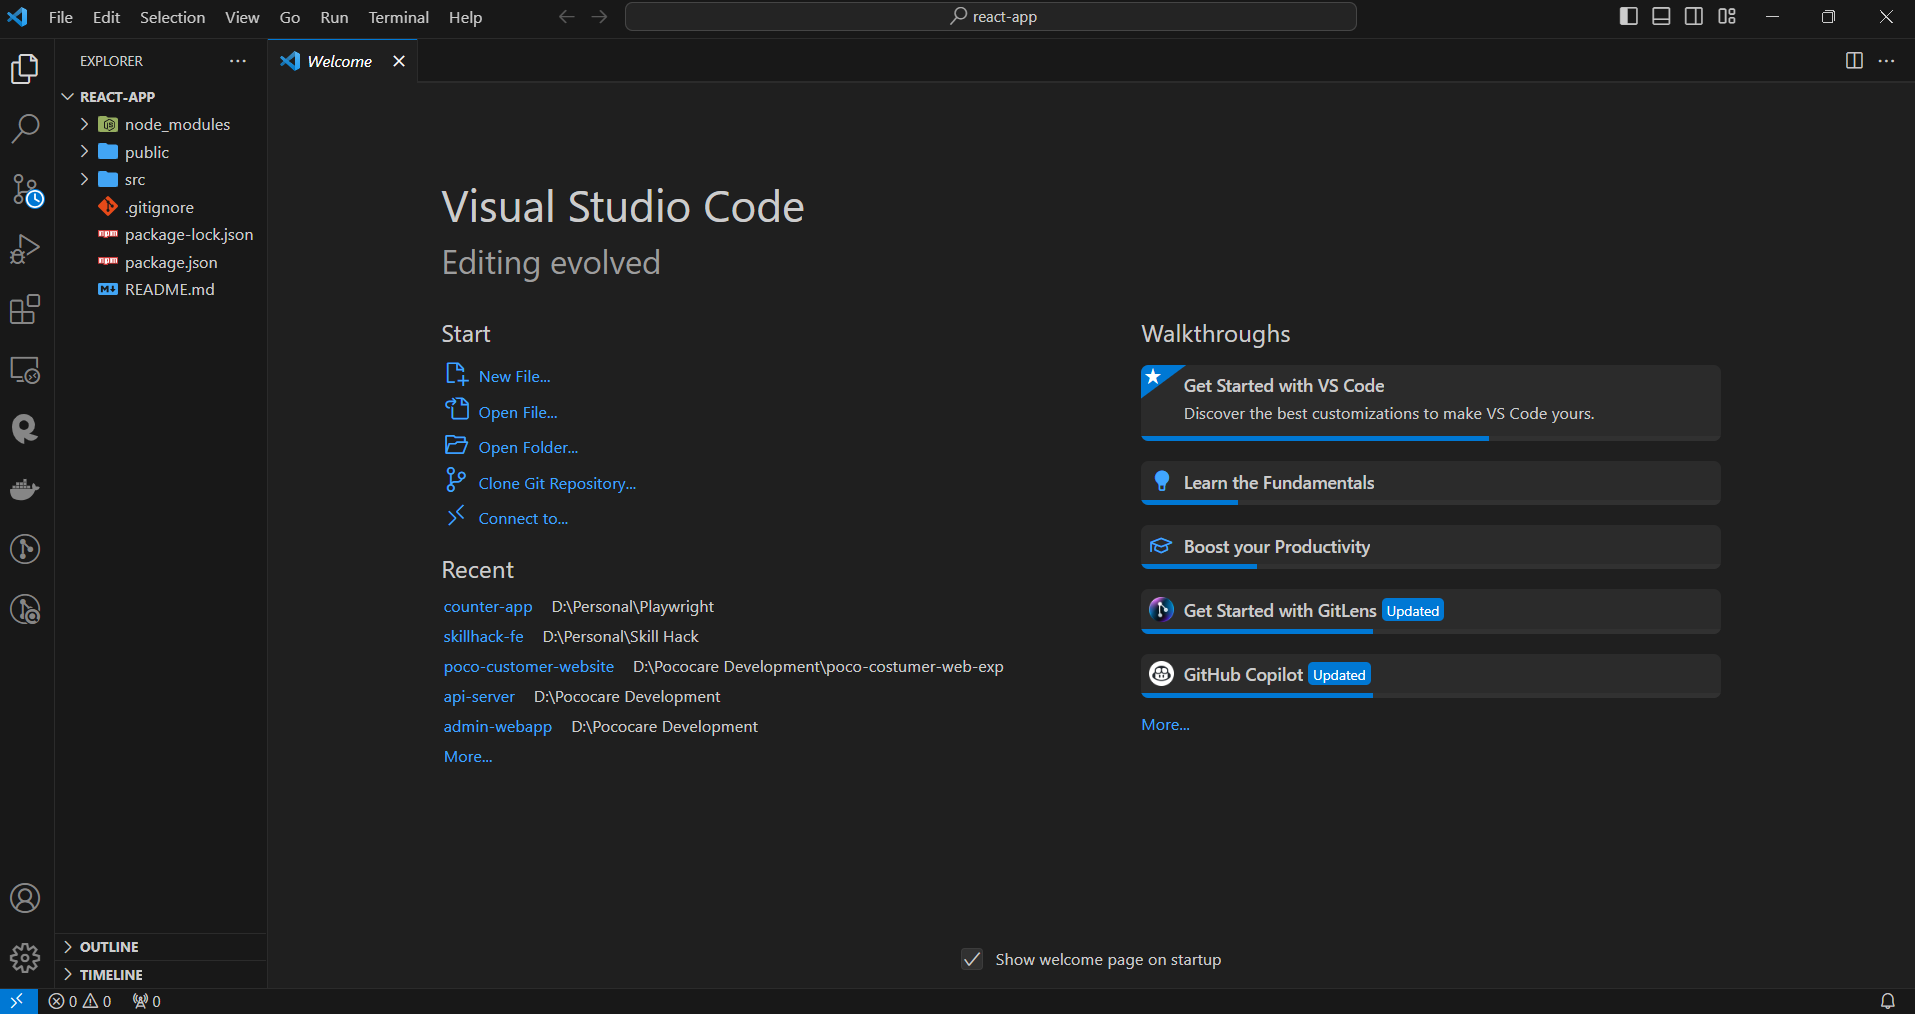
Take a look at your Visual Studio Code - the project has been successfully created. Now, let's see what it looks like, shown below.
Notice that the application is up and running.
Set up Playwright
Step 1 - Run the below command to initiate Playwright in react-app that you have created.
npm init playwright@latest -- --ct
After running the given command output will look like
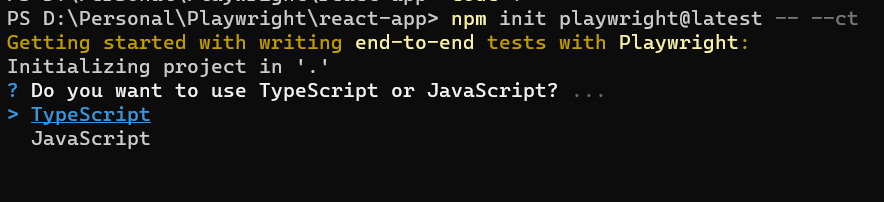
SelectJavascript by pressing the down arrow button + enter.
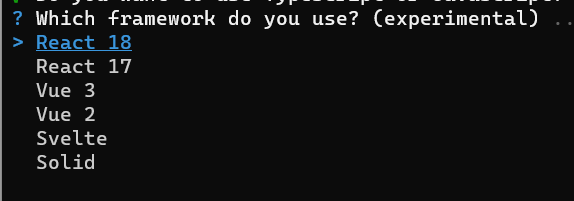
Select React 18
Now, Playwright is initiated in your project you can see screenshoot.
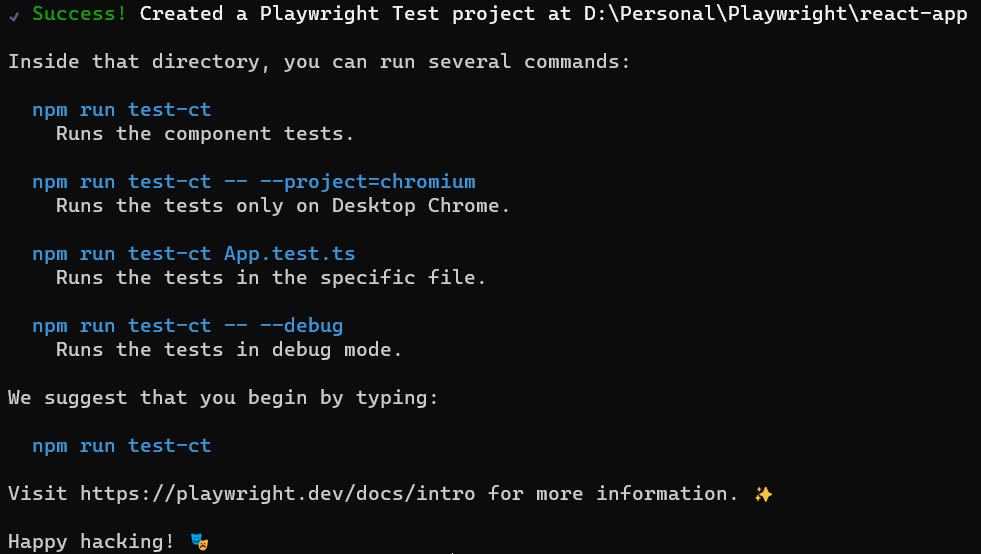
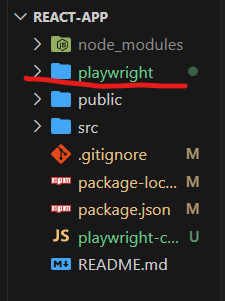
Now you can see, that Playwright is installed in your project.
Test your react component.
Now Let’s take an example to test Counter Component using Playwright.
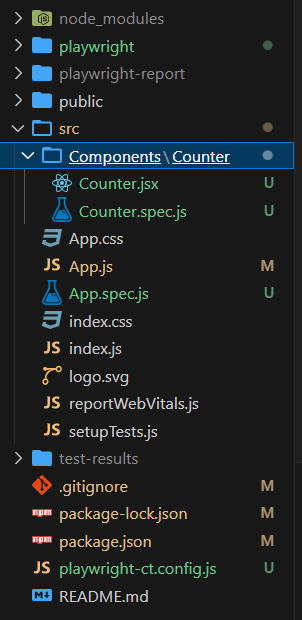
Step 1 - update the name of the existing file src/App.test.js -> App.spec.js
Step 2 - Create a Counter component.
Let's give the name of the js file as ‘Counter.js’ and the spec name ‘Counter.spec.js’
Step 3 - Paste the following code to Counter.js file
import { useState } from 'react'
export default function Counter({ initial = 0 }) {
    const [count, setCount] = useState(initial)

    return (
        <div>
            <button style={{ color: "black", backgroundColor: "green", margin: 10 }} aria-label="decrement" onClick={() => setCount(count - 1)}>
                -
            </button>
            <span data-cy="counter">{count}</span>
            <button style={{ color: "black", backgroundColor: "green", margin: 10 }} aria-label="increment" onClick={() => setCount(count + 1)}>
                +
            </button>
        </div>
    )
}
Step 4 - Paste the following code to Counter.spec.js file.
import { test, expect } from '@playwright/experimental-ct-react';
import App from './Counter.jsx';
const counterSelector = '[data-cy="counter"]';
const incrementSelector = "[aria-label=increment]";
const decrementSelector = "[aria-label=decrement]";
test.use({ viewport: { width: 500, height: 500 } });

test('Two time Increment in the Counter ', async ({ mount }) => {
    const component = await mount(<App/>);
  await component.locator(incrementSelector).click();
    await expect(component.locator(counterSelector)).toHaveText('1');
    await component.locator(incrementSelector).click();
    await expect(component.locator(counterSelector)).toHaveText('2');
});

test('Increment then the decrement the Counter ', async ({ mount }) => {
    const component = await mount(<App/>);
  await component.locator(incrementSelector).click();
    await expect(component.locator(counterSelector)).toHaveText('1');
    await component.locator(decrementSelector).click();
    await expect(component.locator(counterSelector)).toHaveText('0');
});
In the above test case, we are covering two scenarios. First ‘Two time Increment in the Counter’. The second scenario is ‘Increment then the decrement the Counter’.
Step 5 - Run the test cases using the below command.
npm run test-ct
Step 6 - See output using the below command.
npx playwright show-report
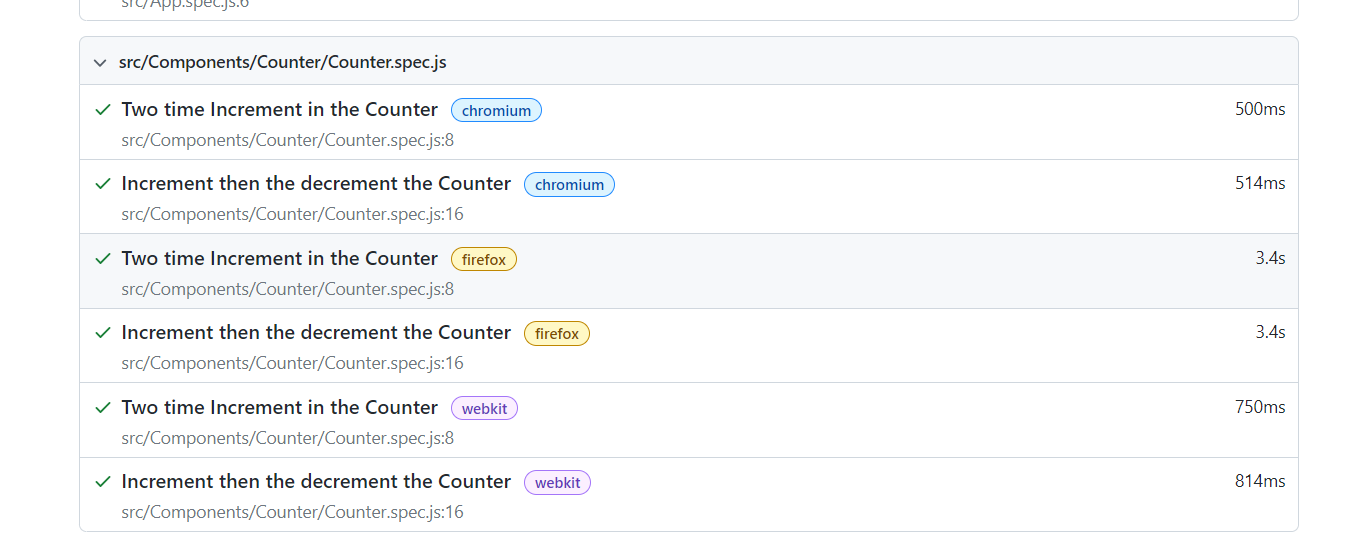
Now you can see the test report of the Counter component.
Find Source Code Here: https://github.com/theatulanand/react-playwright
Follow us for more articles related to software development and testing.